WTF Ethers: 1. Hello Vitalik
I've been revisiting ethers.js recently to refresh my understanding of the details and to write a simple tutorial called "WTF Ethers" for beginners.
Twitter: @0xAA_Science
Community: Website wtf.academy | WTF Solidity | discord | WeChat Group Application
All the code and tutorials are open-sourced on GitHub: github.com/WTFAcademy/WTF-Ethers
In this lesson, we will introduce the ethers.js library and write our first program, HelloVitalik: it will query Vitalik's ETH balance and output it to the console.
This tutorial uses the latest version of ethers.js, v6, which has significant changes compared to v5. For v5 tutorial, please check link.
Overview of ethers.js
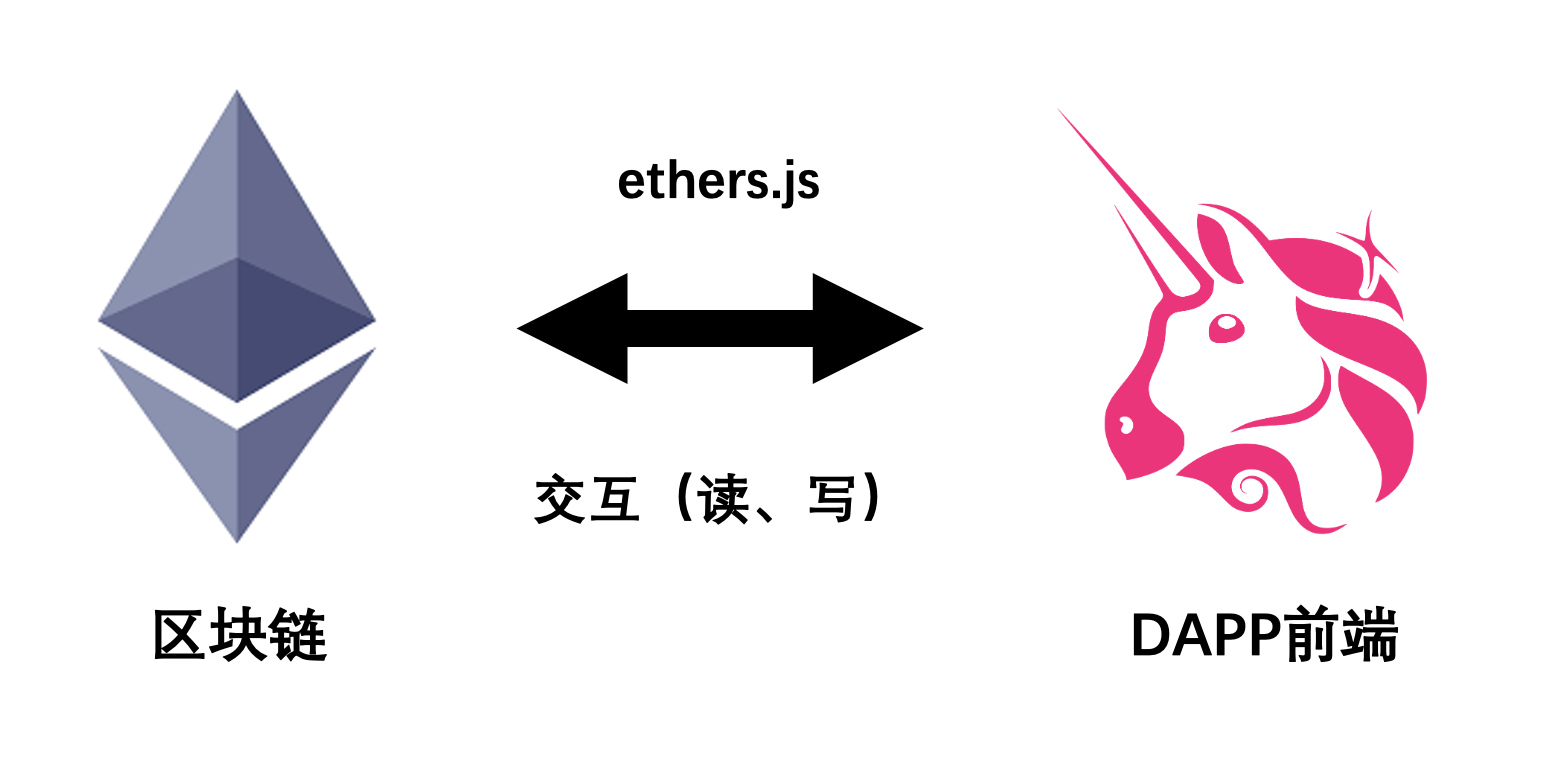
ethers.js is a complete and compact open-source library for interacting with the Ethereum blockchain and its ecosystem. If you want to build a frontend for a Dapp or write a script to interact with Ethereum, you will need to use ethers.js.
Compared to the earlier library web3.js, ethers.js has the following advantages:
- More compact code:
ethers.jsis 116.5 kB, whileweb3.jsis 590.6 kB. - More secure:
Web3.jsassumes that users will deploy a local Ethereum node, and the private keys and network connectivity are managed by this node (which is not actually the case); inethers.js, theProviderclass manages network connectivity, while theWalletclass manages keys, making it more secure and flexible. - Native support for
ENS.
Development Tools
1. VScode (recommended)
You can use local vscode for development. You need to install Node.js, and then use the package manager npm to install the ethers library:
npm install ethers --save
2. Playcode (unstable)
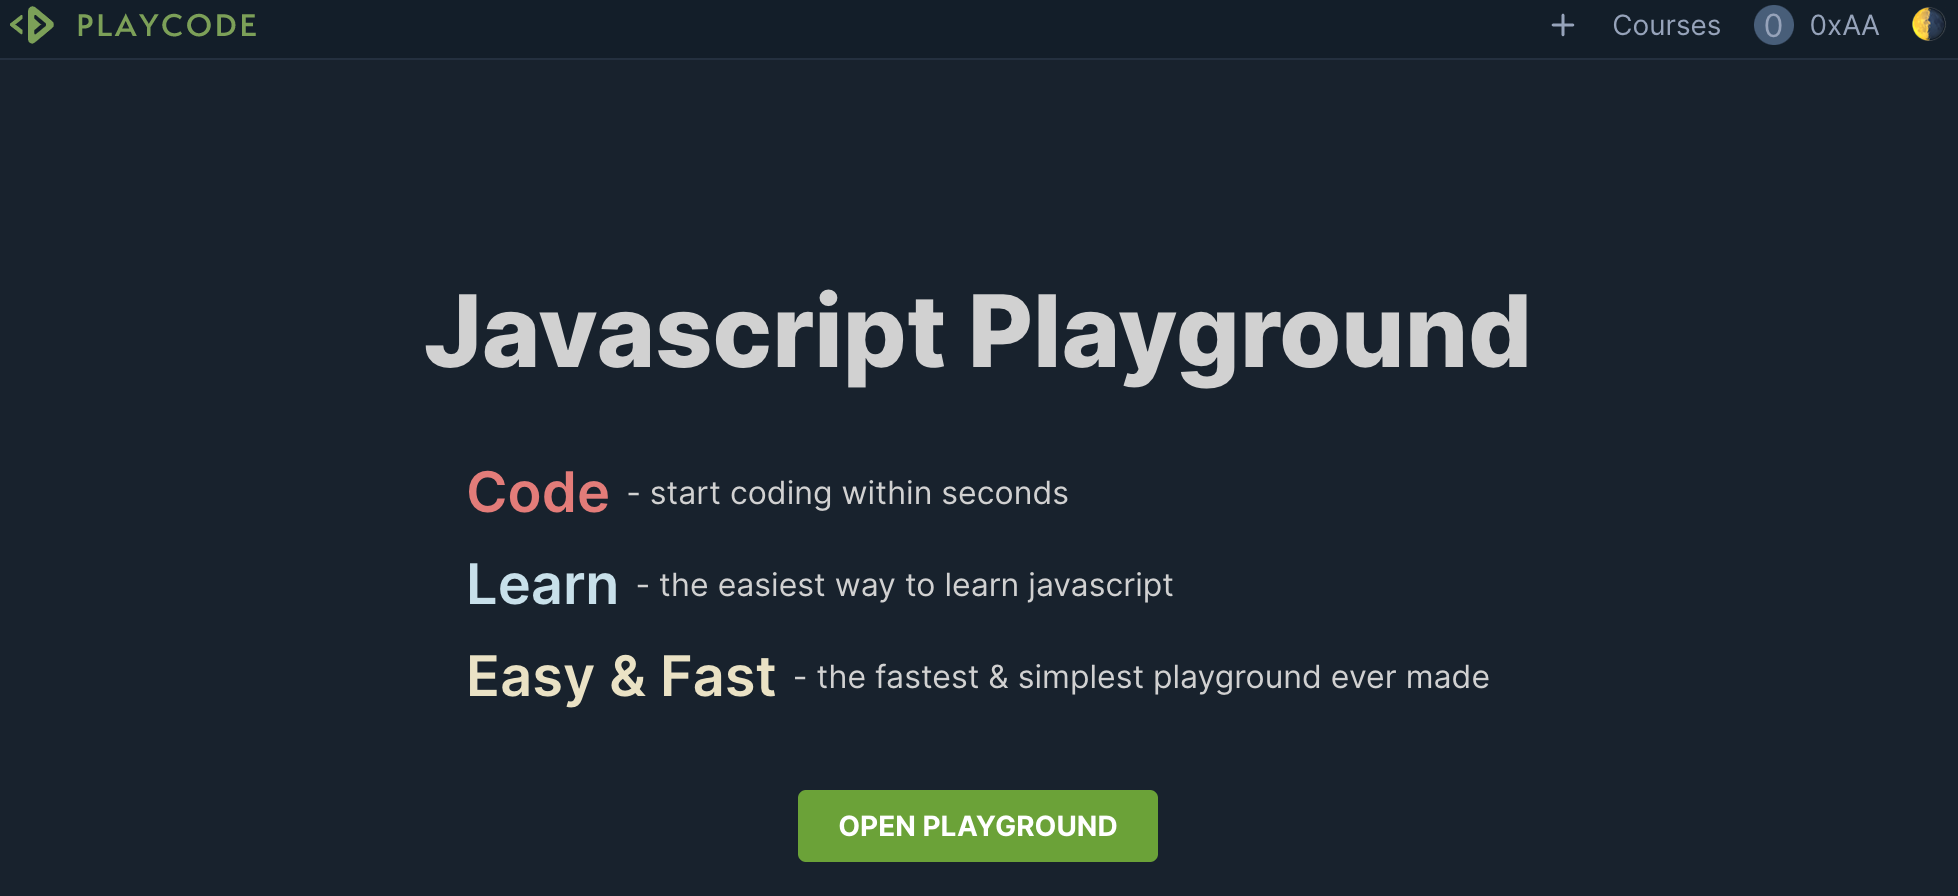
Playcode is an online platform for compiling JavaScript. You can run .js files without configuring Nodejs, which is very convenient.
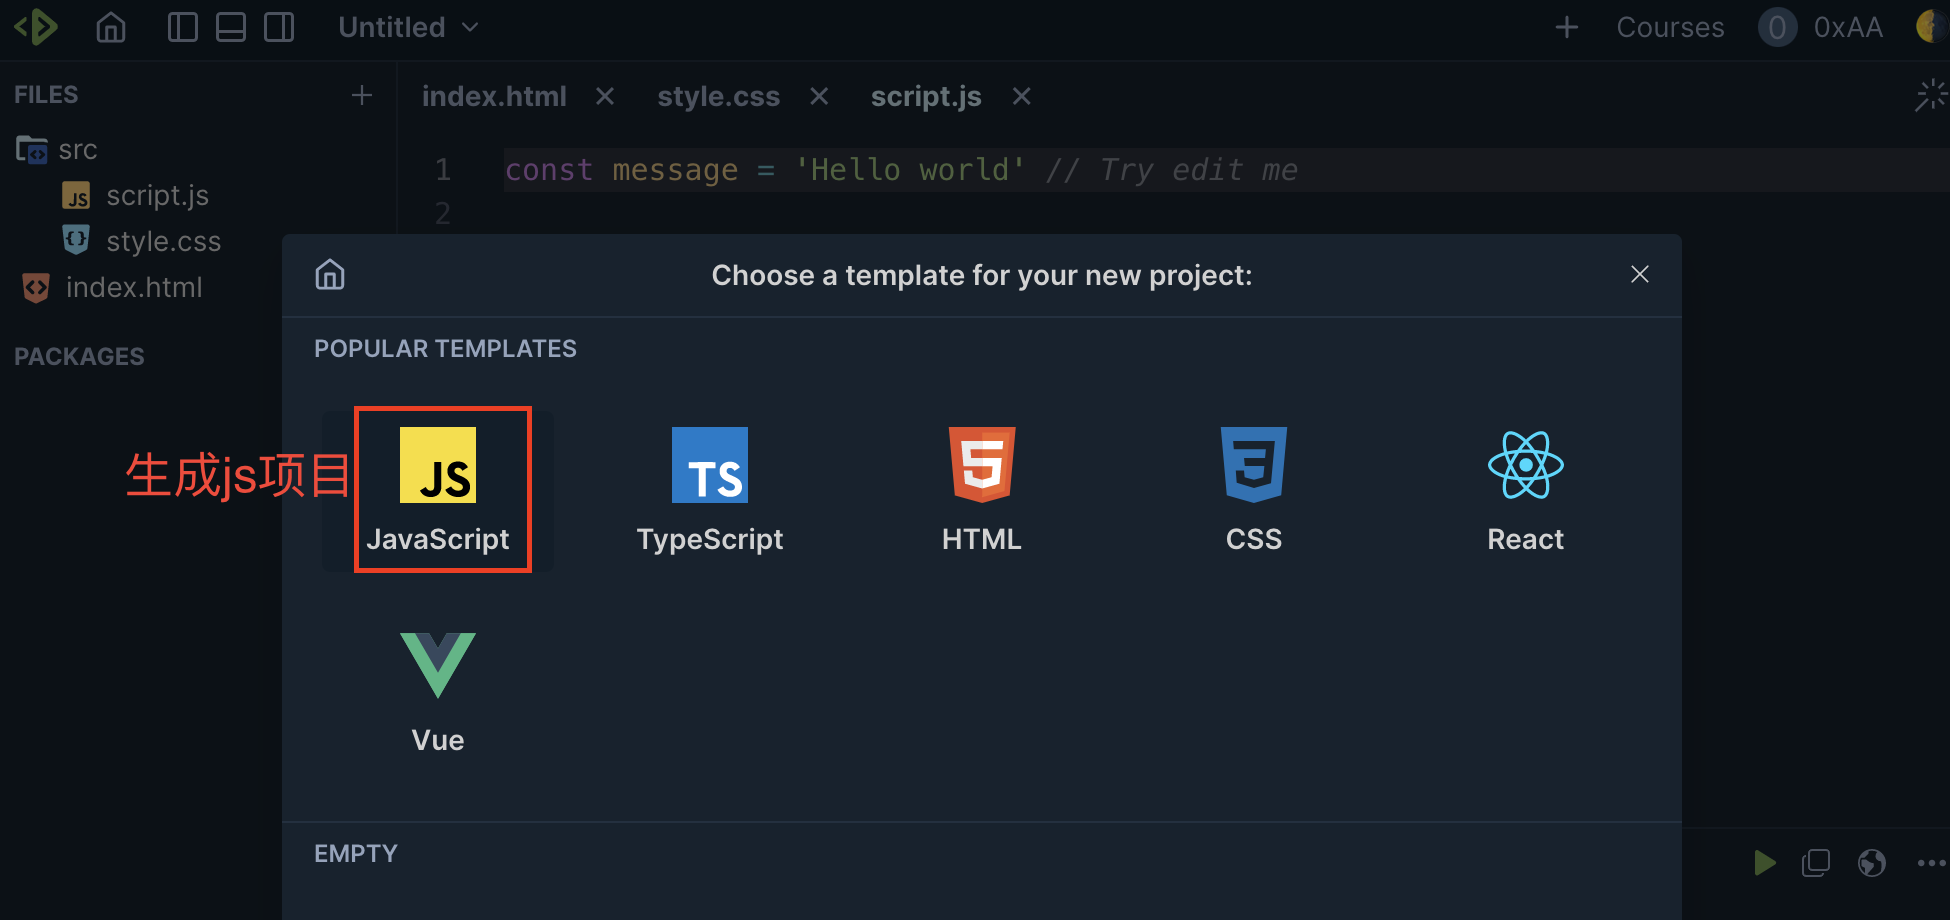
In this chapter, we will demonstrate using playcode. You need to register a free account on the official website, then create a new project with the Javascript template by clicking OPEN PLAYGROUND, and write the code in the auto-generated script.js file. However, playcode may not be stable when using ethers, so we recommend using VScode.
HelloVitalik
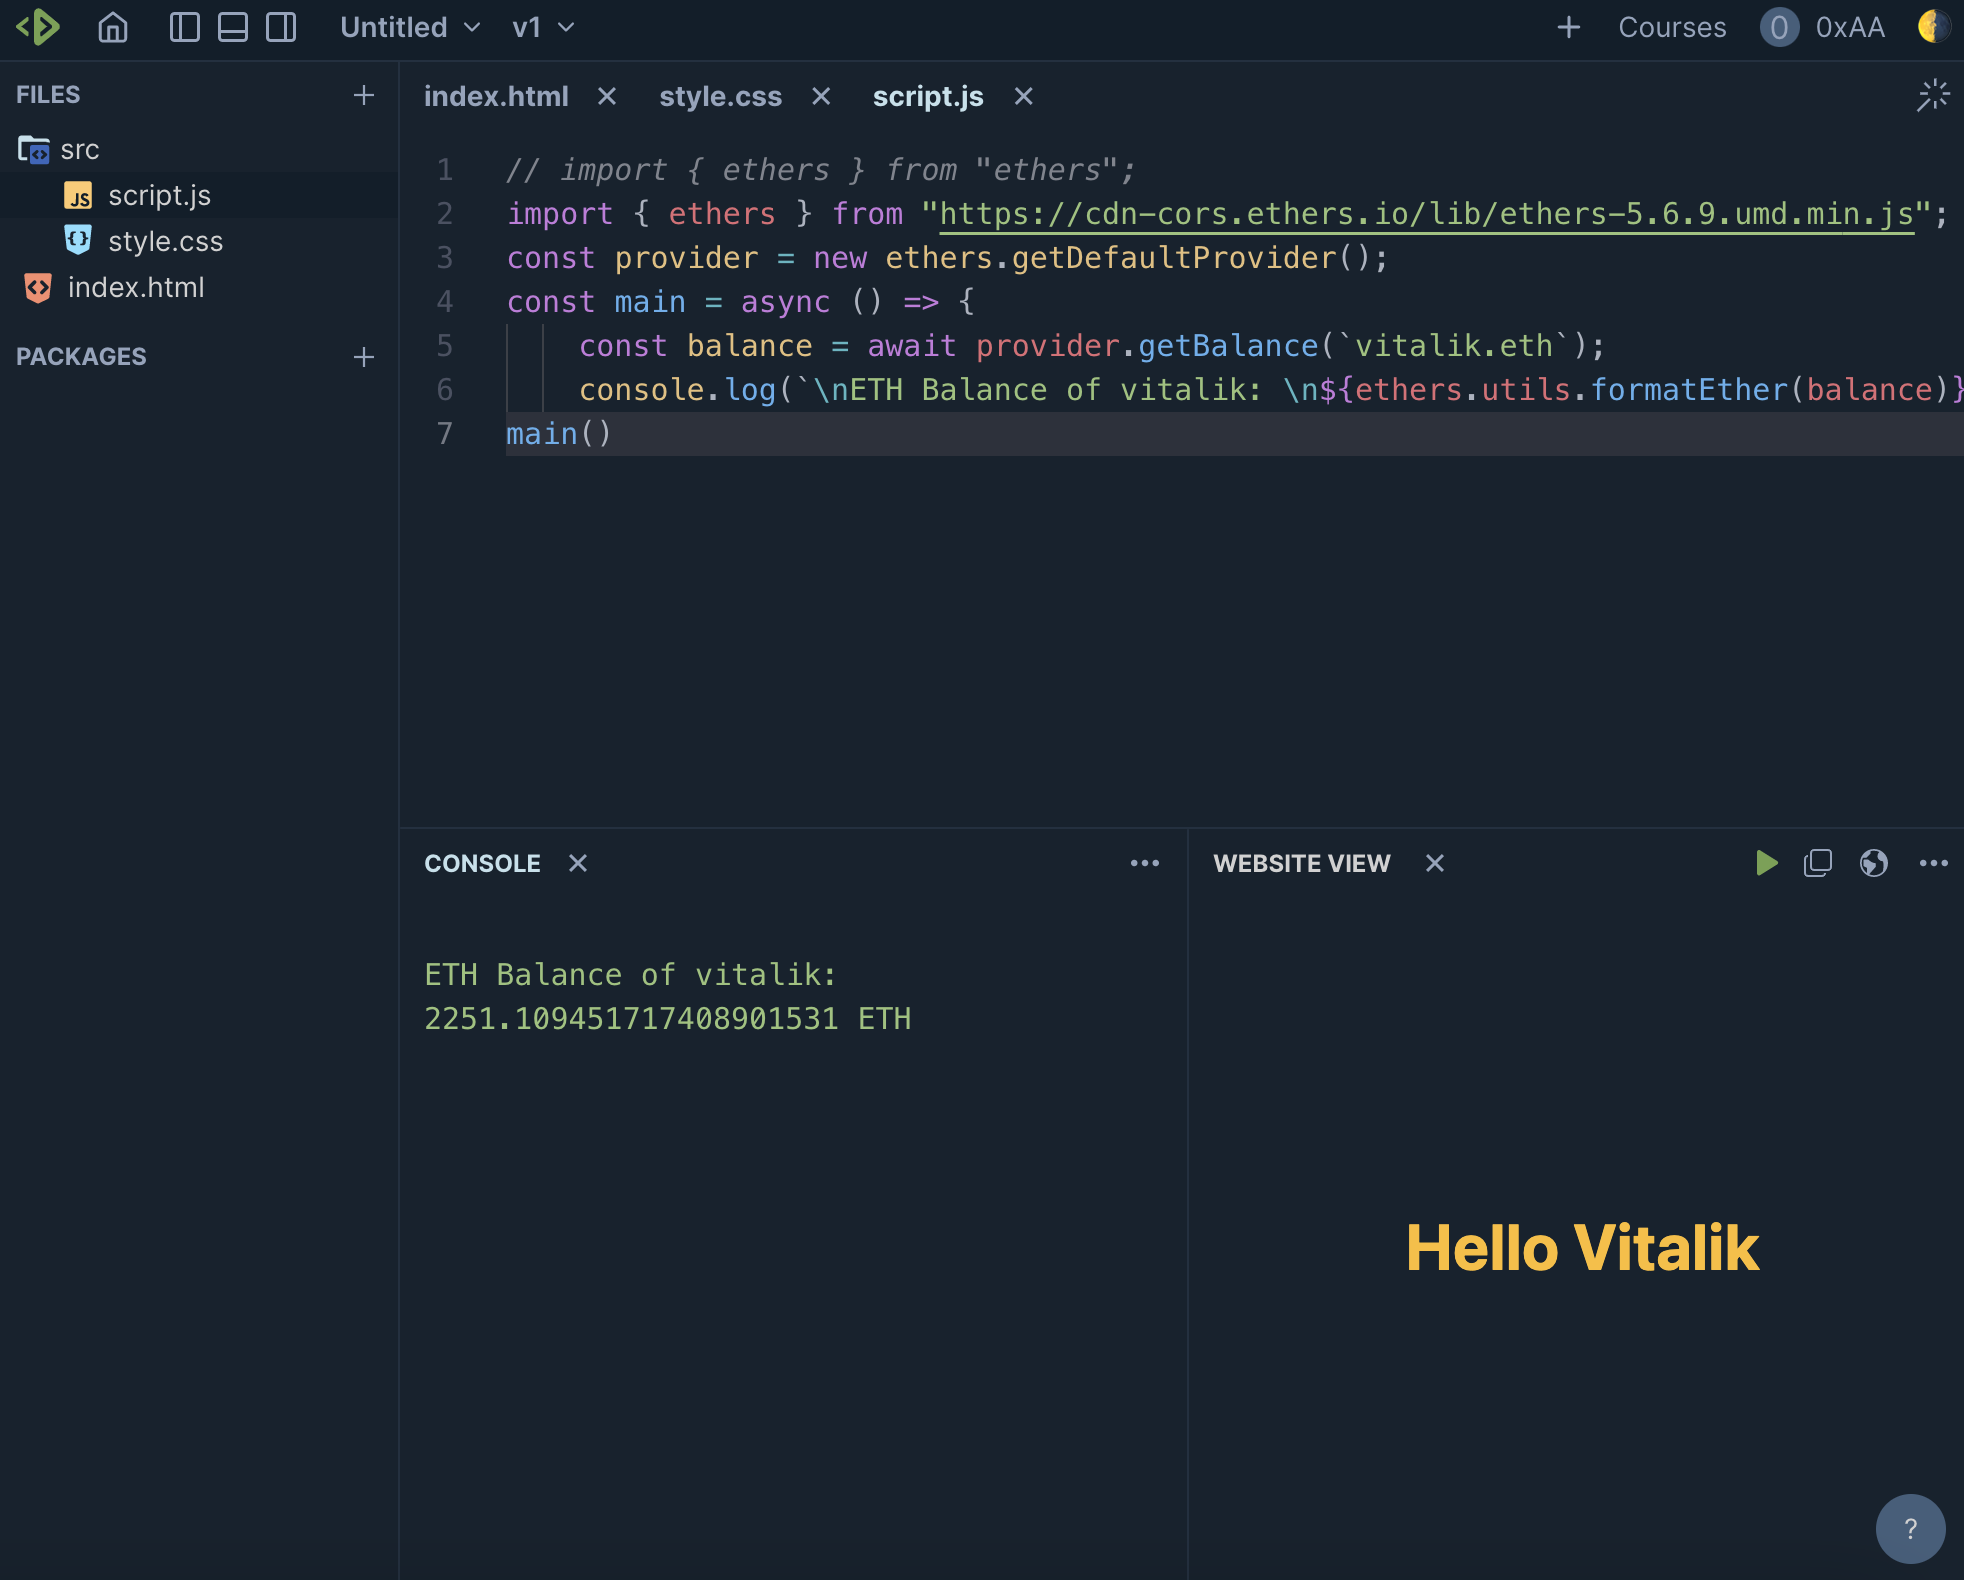
Now, let's write our first program using ethers called HelloVitalik: it will query Vitalik's ETH balance and output it to the console. The entire program only requires 6 lines, very simple!
Note: When running for the first time on playcode, it may prompt module not found. This is because the ethers library has not been installed, simply click the install button to install it. If this does not work, please use VScode locally.
import { ethers } from "ethers";
const provider = ethers.getDefaultProvider();
const main = async () => {
    const balance = await provider.getBalance(`vitalik.eth`);
    console.log(`ETH Balance of vitalik: ${ethers.formatEther(balance)} ETH`);
}
main()
Let's analyze the program line by line:
1. Import ethers
The first line imports the installed ethers library:
import { ethers } from "ethers";
If you are using the playcode platform where free accounts cannot install external libraries, you can directly import from the ethers CDN (for educational purposes only due to security considerations):
import { ethers } from "https://cdnjs.cloudflare.com/ajax/libs/ethers/6.2.3/ethers.js";
2. Connect to Ethereum
In ethers, the Provider class is an abstract class that provides Ethereum network connectivity. It provides read-only access to the blockchain and its state. We declare a provider to connect to the Ethereum network. ethers provides some common RPCs for easy connection to Ethereum:
const provider = ethers.getDefaultProvider();
Note: The built-in rpc in ethers has limitations on access speed and is for testing purposes only. In a production environment, it is recommended to use a personal rpc. For example:
const ALCHEMY_MAINNET_URL = 'https://eth-mainnet.g.alchemy.com/v2/oKmOQKbneVkxgHZfibs-iFhIlIAl6HDN';
const provider = new ethers.JsonRpcProvider(ALCHEMY_MAINNET_URL);
3. Declare an async function
Since interactions with the blockchain are not real-time, we need to use the async/await syntax in JavaScript. Each call with the blockchain requires the use of await, and we wrap these calls in an async function.
const main = async () => {
    //...
}
main();
4. Get the ETH balance of Vitalik's address
We can use the getBalance() function of the Provider class to query the ETH balance of a specific address. Since ethers natively supports ENS domain names, we can query the balance of Ethereum founder Vitalik's address using the ENS domain name vitalik.eth.
const balance = await provider.getBalance(`vitalik.eth`);
5. Convert units and output to the console
The Ethereum balance we obtained from the chain is in wei, where 1 ETH = 10^18 wei. Before printing it to the console, we need to convert the units. ethers provides a utility function called formatEther, which we can use to convert wei to ETH.
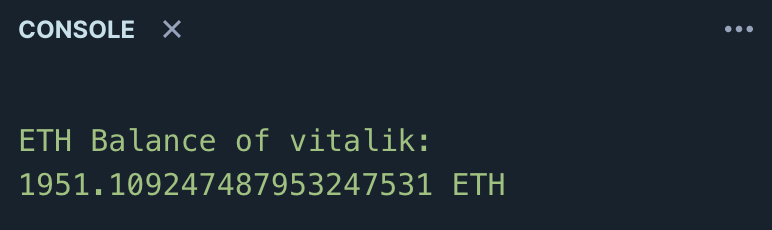
console.log(`ETH Balance of Vitalik: ${ethers.formatEther(balance)} ETH`);
If you are using the VScode development tool, you need to enter the following command in the VScode terminal to run the script:
node 01_HelloVitalik/HelloVitalik.js
This way, you will see Vitalik's ETH balance in the console: 1951 ETH. Of course, this is not his entire holdings. He has multiple wallets, and vitalik.eth is likely one of his frequently used hot wallets.
Summary
This concludes the first lesson of the WTF Ethers tutorial. We introduced ethers.js and completed our first program using ethers: HelloVitalik, which queries Vitalik's wallet balance.
Post-Class Assignment: In Figures 4 and 5, Vitalik's ETH balance is different. The balance in the first image is 2251 ETH, while in the second image it becomes 1951 ETH, a decrease of 300 ETH. In fact, these two images correspond to Vitalik's holdings on 2022.07.30 and 2022.07.31. So, what did Vitalik do with 300 ETH on that day?